Thursday, May 31, 2007

Support for background bar


This shows how one of the T-joints is cut to make a support for the screen bar. The cut is made so that half of the central leg can be removed. The bar then rests in the remaining semicircular cup. This modified joint is placed at the top of the stand. The top crossbar will connect into the top opening of this piece.

Wednesday, May 30, 2007

Assembling the basic stand

This shows the assembled stand, but without the screen material. You can see how the cross bar connects into the side stands. The top cross bar is just a section of 6' 4" with two 90 degree elbows. It keeps the two uprights at the correct distance to support the background bar. The two elbows each have a short section of pipe 2-3" that will fit into the modified T-joint which holds that background bar. These short pipes are not glued into the upright so that you can remove the crossbar and break the stand down for storage or transportation.

Last steps

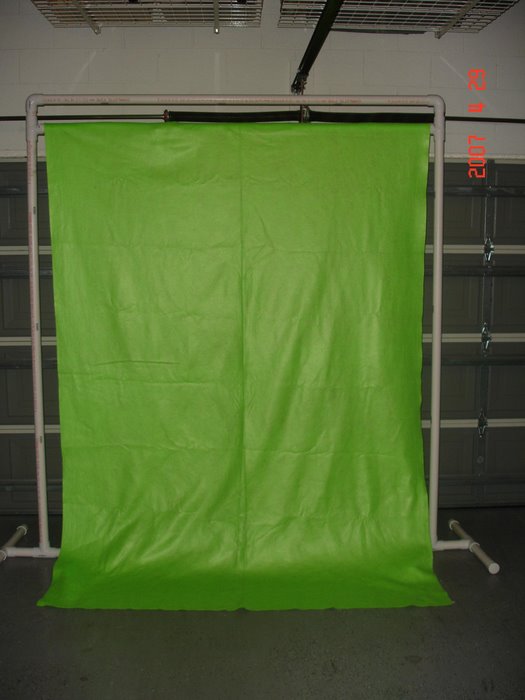
This shows the final assembly of the stand, as well as close-up details of the cross bar and support for the screen bar.
Also some pictures of glueing the background to a bar prior to hanging. I used the PVC cement to glue the felt to the bar, but you could also use duct tape.
I used 72" felt that I purchased at Joann's (my wife's favorite store). Look for a special and you can probably get 3 yds for between 10 and 15 dollars. I have extra pipe, and so will be able to easily add a second color.